Project Management
The Web Modeling Editor organizes your work into Projects. A project acts as a container for all your related diagrams, allowing you to manage complex systems effectively.
Creating a New Project
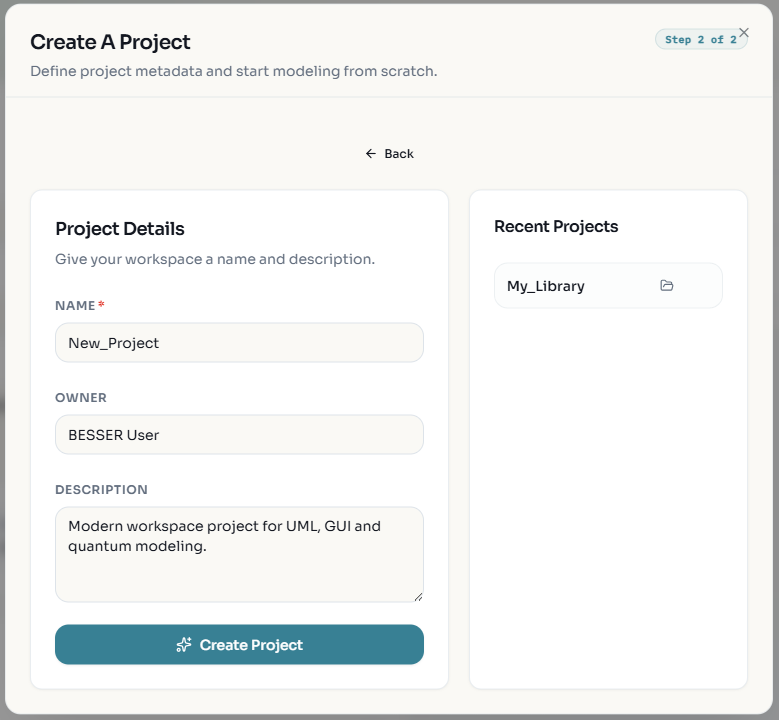
Click the Home icon 🏠 or select File > New Project.
Enter the project details: * Name: A descriptive name for your project. * Description: (Optional) A brief summary of the project’s purpose. * Owner: The name of the project owner. * Default Diagram: Select the initial diagram type to start with.
Click Create Project.
Importing Projects
You can import existing projects to continue your work or use templates.
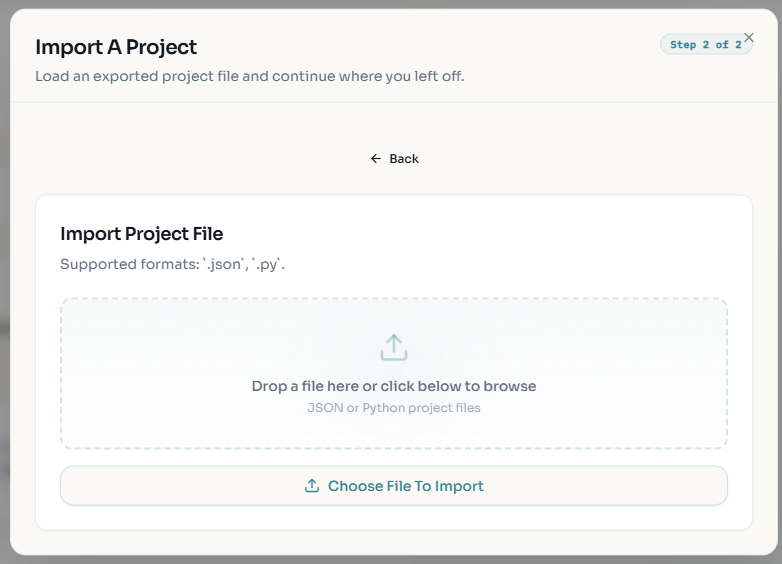
Click File > Import Project.
Select the file to import. Supported formats include: * B-UML (.py): The standard Python-based format for BESSER models. * JSON (.json): The internal format used by the web editor.
Exporting Projects
To save your work or use it with other BESSER tools:
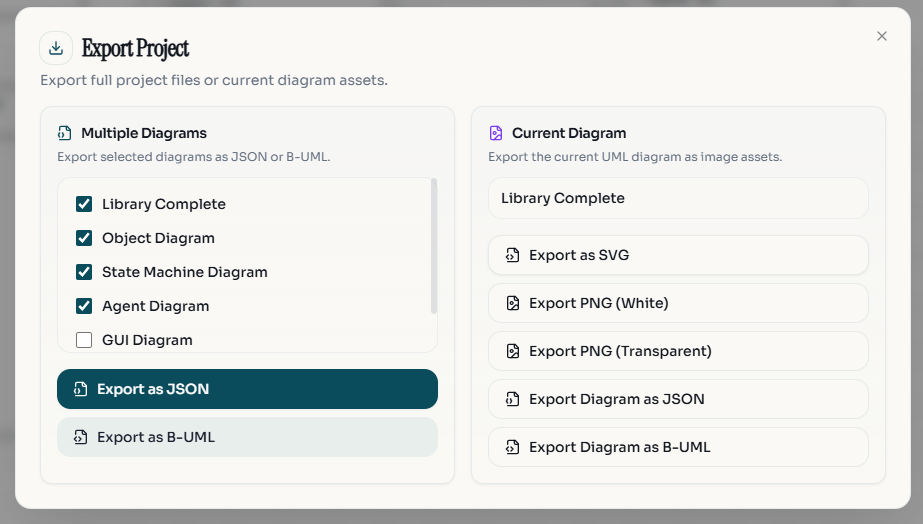
Click File > Export Project.
Choose your desired format: * B-UML: Exports the model as Python code compatible with the BESSER backend. * JSON: Exports the raw editor data. * Image (SVG/PNG): Exports the current diagram visual. * PDF: Exports the diagram as a document.
Project Settings
You can modify project metadata at any time.
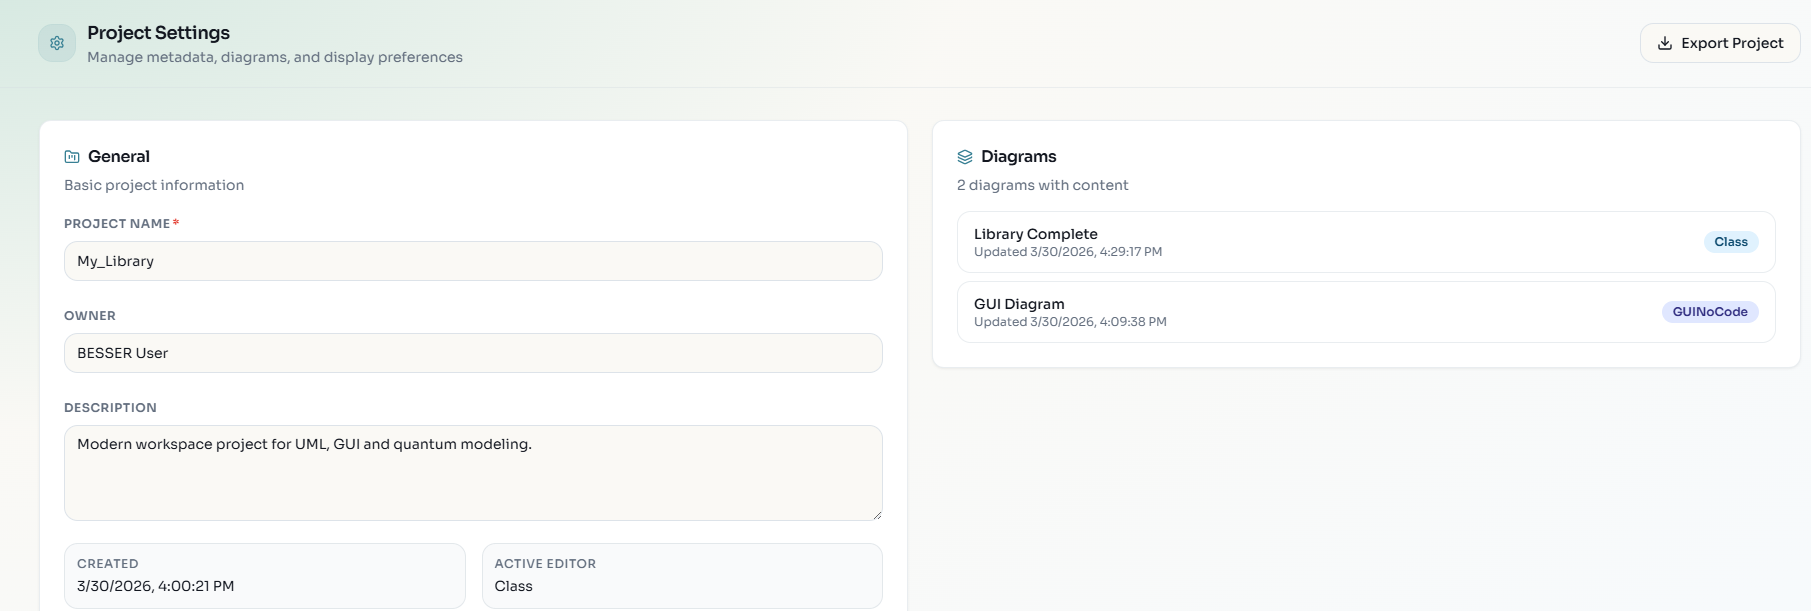
Click the Settings icon ⚙️ in the sidebar.
Update the Name, Description, or Owner.
View the unique Project ID.
GitHub Integration
The editor supports syncing projects with GitHub repositories, allowing version control and collaboration on your models.
Connecting to GitHub
Click the GitHub icon in the left sidebar to open the GitHub panel.
Sign in with your GitHub account when prompted. This grants the editor access to your repositories.
Saving a Project to GitHub
You can save your project to a new or existing GitHub repository:
New repository: Click Create Repository, enter a name and description, then push. The editor creates the repo and commits your project JSON file.
Existing repository: Click Link Repository, browse your repos, select one, choose a branch and file path, then push. The project JSON is saved to that location.
Each push creates a commit with your project data. The editor also exports raw B-UML Python files
(domain_model.py, agent_model.py) into a buml/ directory alongside the JSON, so your
project can be maintained even without the web editor.
Opening a Previously Synced Project
To reopen a project that was saved to GitHub:
Open the GitHub panel in the sidebar.
Click Link Repository and select the repo and branch where your project is stored.
Browse the repository contents and select the
.jsonproject file.Click Pull to load the project from GitHub into the editor.
The sync connection is remembered per project. Subsequent pushes go to the same repo/branch/file without needing to relink.
Commit History
The GitHub panel shows the commit history for your project file. You can click any commit to restore that version of the project.